
Single node Kubernetes cluster using K3S and Rancher
Introduction
Some of the best insights come from getting your hands dirty, applying what you have learned.
If you are software engineer who develops for the cloud, it makes sense to have a laboratory at home - an environment which you can control, where you can get started quickly, and where you can test drive your applications before worrying about too many things.
This weekend, I had tons of fun setting up my own kubernetes cluster in my personal computer. It has a single node, but no problem! I get all the same kubernetes abstractions which mirrors working in a public cloud, like AWS or Azure.

Image credit: Getty Images
I am talking about k3s, a lightweight k8s “distribution”, which is super easy to install with a lot of defaults that do not necessitate tinkering.
k3s bundles the containerd runtime, so you do not need to separately install docker engine.
Follow the steps below to get a working k8s environment in your computer in under one hour!
Prerequisites
Before we begin, you will need a few prerequisites:
- A Linux computer - a VM, or a baremetal installation. Use the latest LTS version of Ubuntu to keep things simple.
kubectl- Install from the official sources at kubernetes.io.helm- Install from helm.sh
Instructions
Install the k3s distribution
Run the following command to install k3s. Write your password when prompted.
curl -sfL https://get.k3s.io | sh -
A kube config file will be written to /etc/rancher/k3s/k3s.yaml. Copy the contents to $HOME/.kube/config. Use sudo if you get permission denied errors.
Finally verify that the installation is working by running the command kubectl get node. You should see output similar to below:
$ kubectl get node
NAME         STATUS   ROLES                  AGE   VERSION
<computer>   Ready    control-plane,master   46h   v1.31.5+k3s1
Install Rancher for easy cluster management
Add the helm repository for the latest version:
helm repo add rancher-latest https://releases.rancher.com/server-charts/latest
Create the namespace for the rancher installation. It must always be cattle-system.
kubectl create namespace cattle-system
Prefer Rancher-generated TLS certificates for HTTPS to avoid complexity. To make that happen, you need cert-manager, install as per the following commands:
helm repo add jetstack https://charts.jetstack.io
helm repo update
helm install cert-manager jetstack/cert-manager --namespace cert-manager --create-namespace --set crds.enabled=true
Verify cert-manager installation by kubectl get pods --namespace cert-manager.
Finally, install rancher using the following command:
helm install rancher rancher-latest/rancher --namespace cattle-system --set hostname=<IP_OF_LINUX_NODE>.sslip.io --set bootstrapPassword=admin
where,
- <IP_OF_LINUX_NODE> is the local network IP of your computer. Easiest way to find out by running
ifconfigand getting the IP againstinetin the appropriate network adapter section, like your wifi controller. bootstrapPasswordis set toadmin, which needs to be changed in the first login.
Wait for Rancher to be rolled out:
kubectl -n cattle-system rollout status deploy/rancher
That’s it! You should have a functional Rancher server now.
Demonstration
Open the URL https://<IP_OF_LINUX_NODE>.sslip.io/dashboard/?setup=admin in a web browser.
It should greet you with a first time setup page where you can set your user account credentials and the URL of the rancher deployment, in this case, https://<IP_OF_LINUX_NODE>.sslip.io.
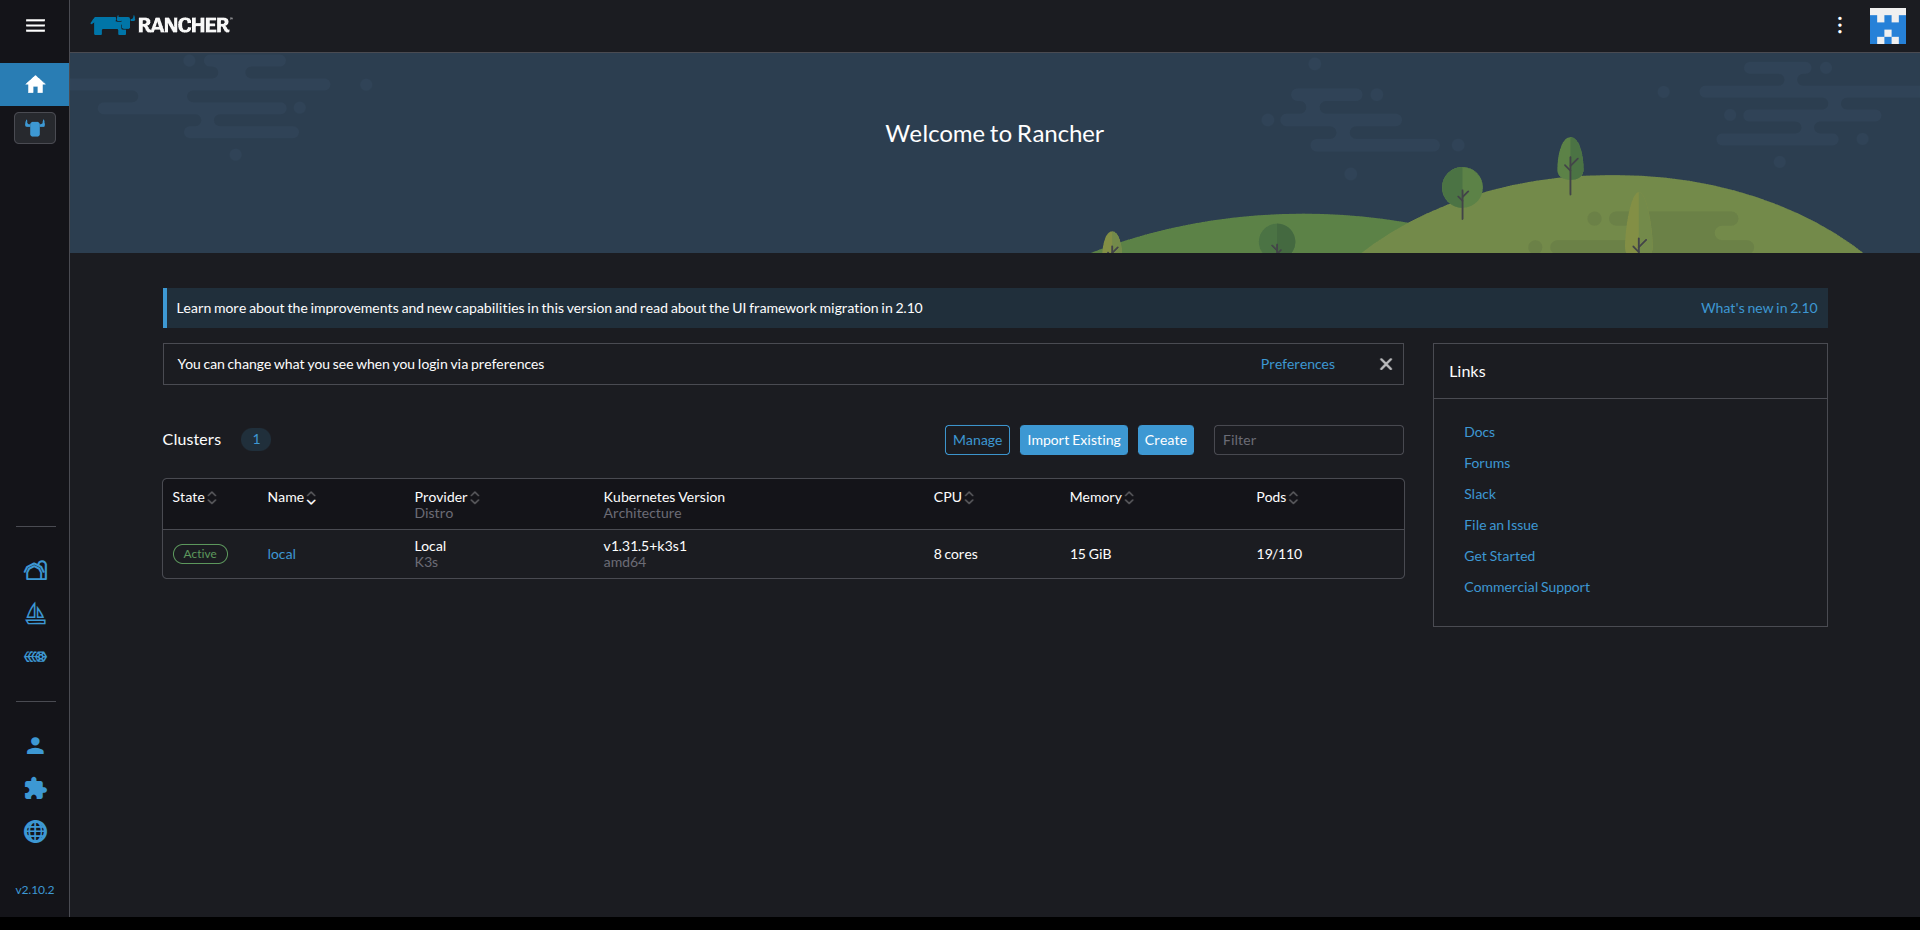
Once you have completed the above, you should see a screen similar to below:
Open the cluster link to be greeted with a page as follows:
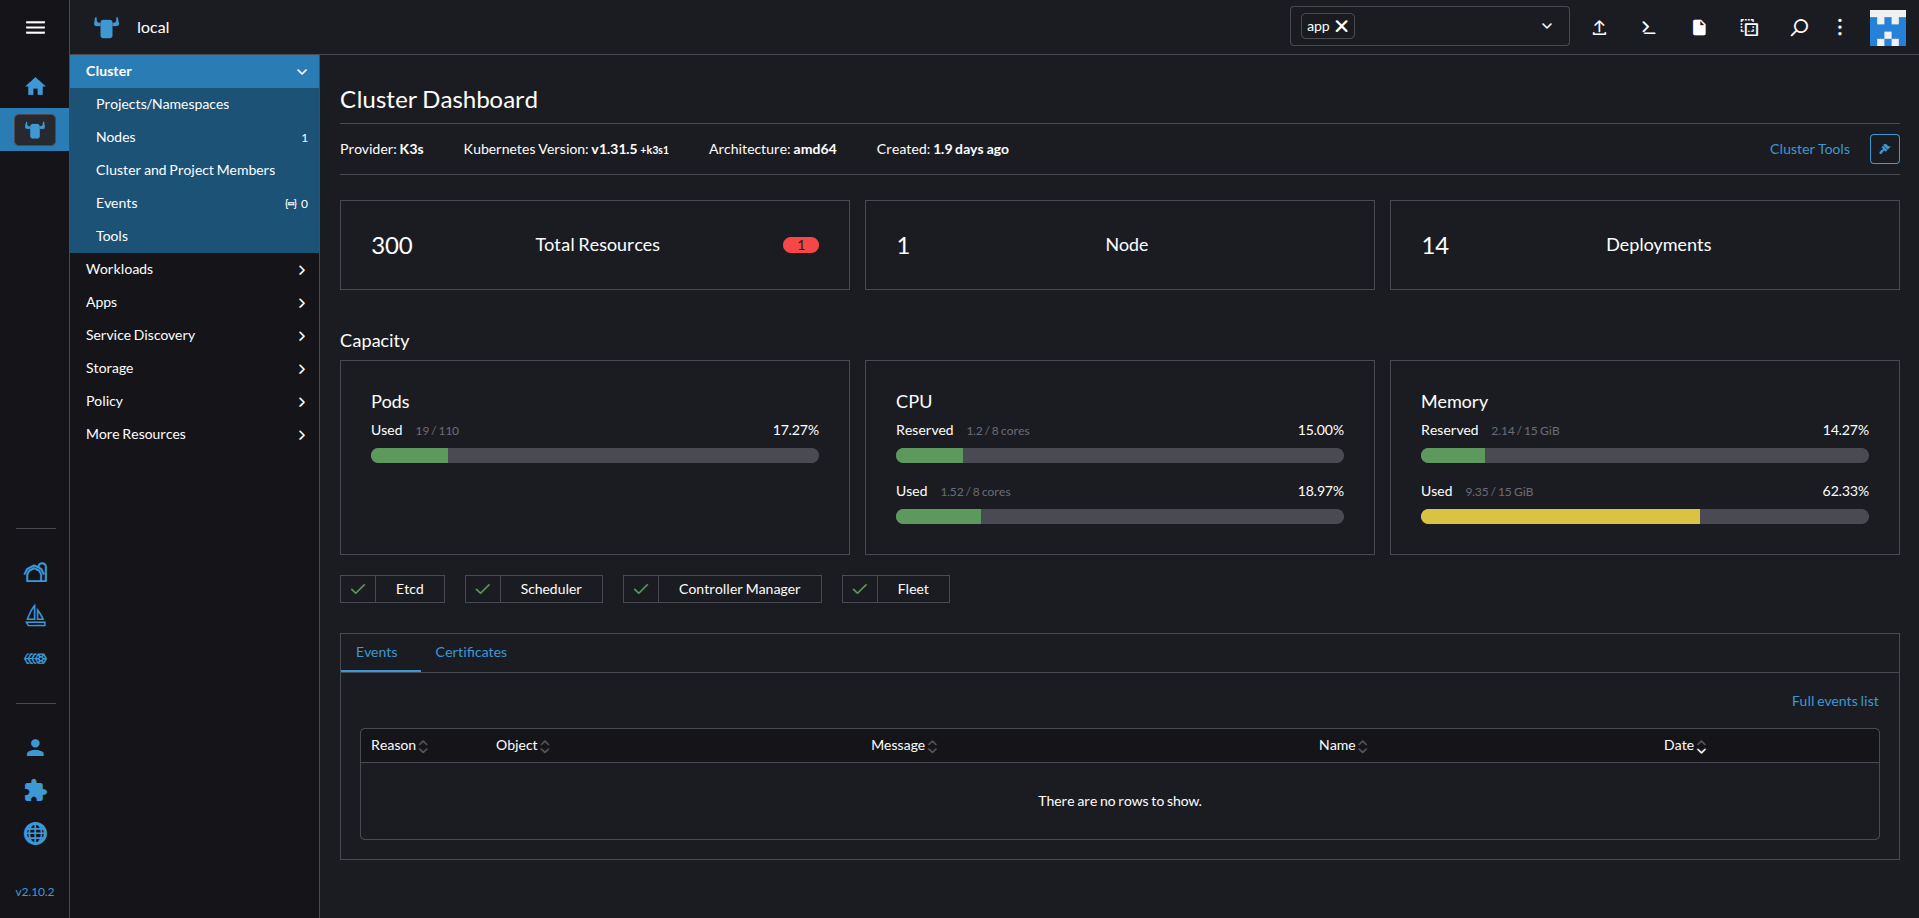
Now you can select namespaces from the top-right and start deploying applications for testing!
Bonus Tips
Create a namespace for your application testing
Let’s keep it simple and call the namespace app.
kubectl create namespace app
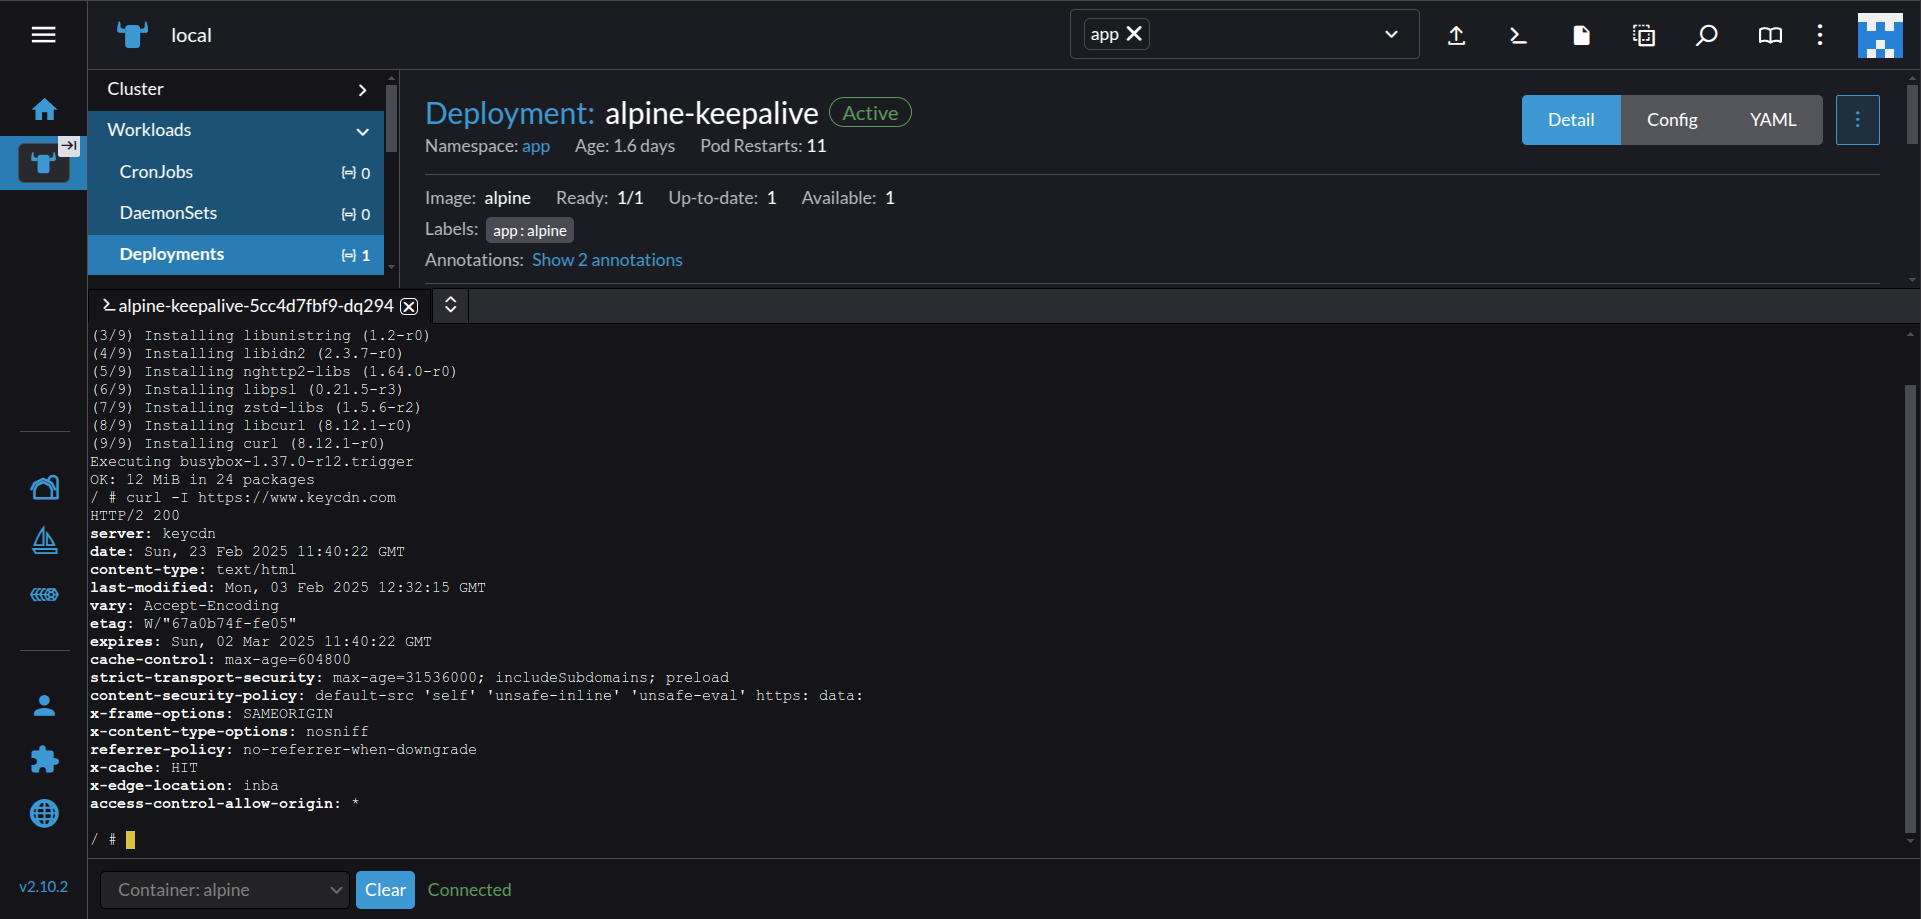
Install a keepalive Linux deployment with common GNU utilities for application troubleshooting
It helps immensely to have a shell available inside the cluster network to do curl HTTP calls, connect to database using psql, etc
Write the following manifest to a YAML, for example, alpine-deployment.yaml
apiVersion: apps/v1
kind: Deployment
metadata:
  name: alpine-keepalive
  namespace: app
  labels:
    app: alpine
spec:
  replicas: 1
  selector:
    matchLabels:
      app: alpine
  template:
    metadata:
      labels:
        app: alpine
    spec:
      containers:
        - name: alpine
          image: alpine:latest
          command: ["/bin/sh", "-c", "sleep infinity"]
          tty: true
          stdin: true
Deploy it to the namespace app with:
kubectl apply -f alpine-deployment.yaml
The alpine-linux deployment do not come with some helpful tools preinstalled, but you can easily get any package from the registry pkgs.alpinelinux.org/packages using the command:
apk add <PACKAGENAME>
in the shell.
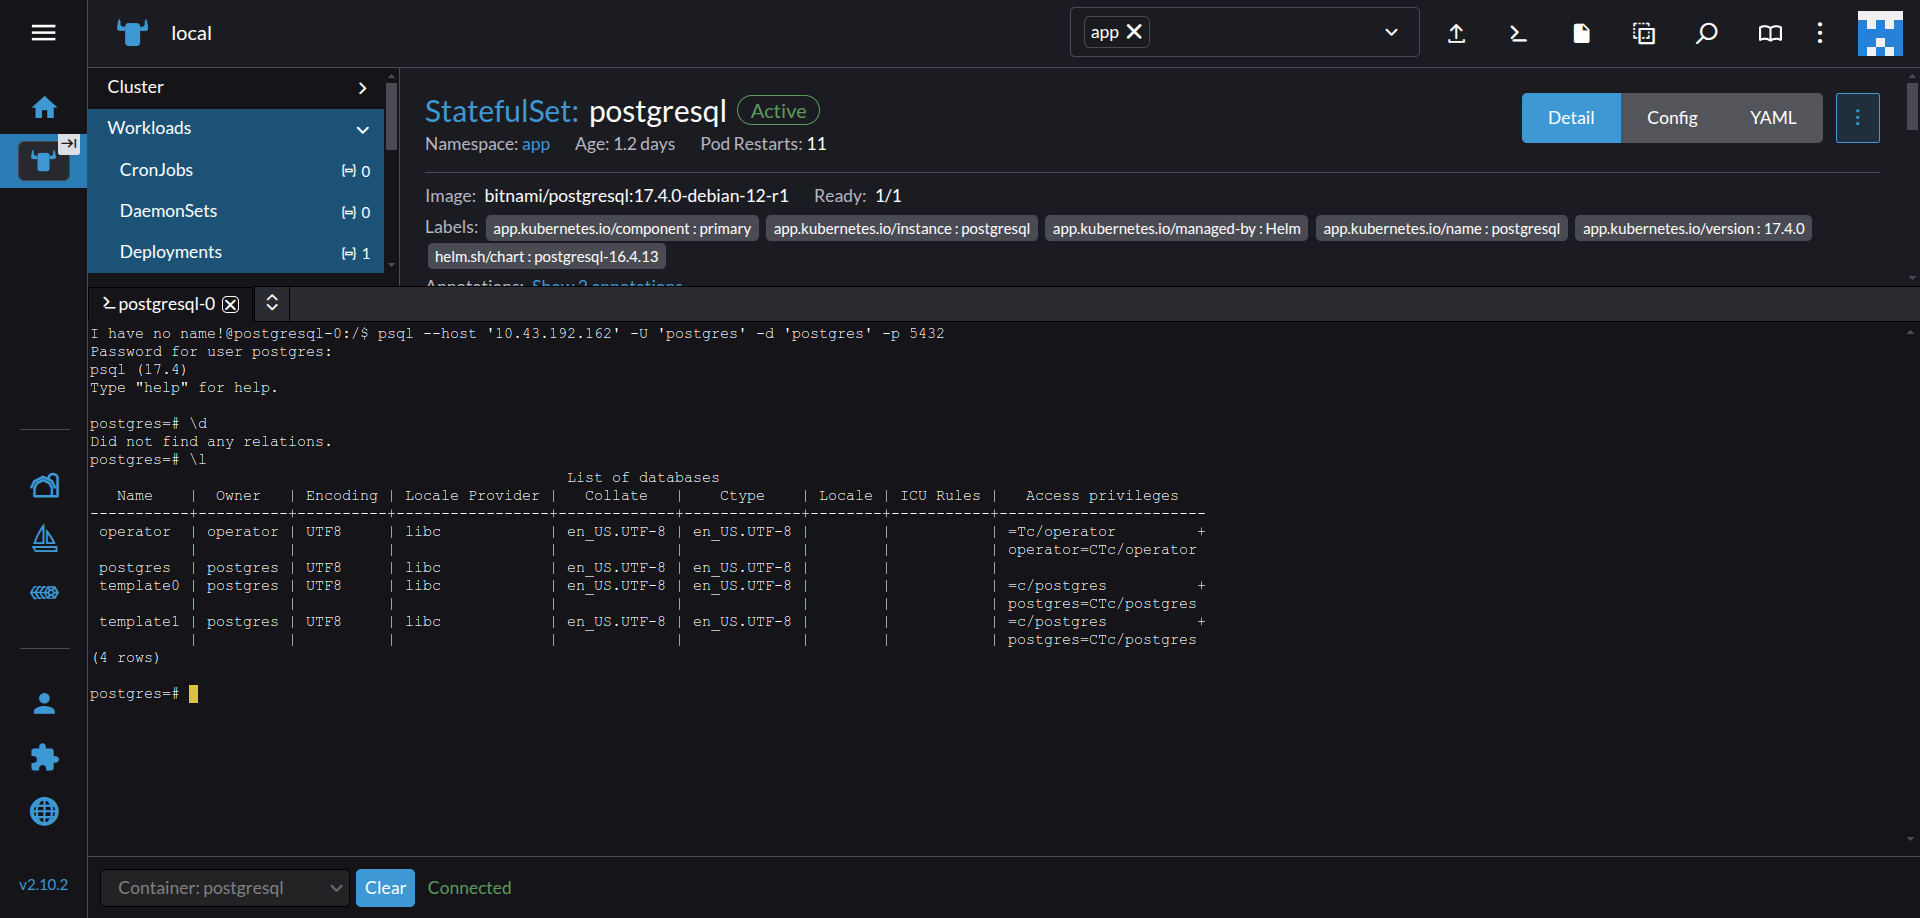
Install PostgreSQL, an industry standard relational database, on your Kubernetes cluster
Installing any RDBMS is easy if you can get your hands on a helm chart.
Fortunately, Bitnami provides many such helpful applications available at the repository https://github.com/bitnami/charts.
With helm, the steps are:
helm repo add bitnami https://charts.bitnami.com/bitnami
helm repo update
helm install postgresql bitnami/postgresql --namespace app
But before you do that, you have to make sure that k3s is providing a PVC to PostgreSQL from a PV mounted on a folder owned by your user.
To make the deployment successful, you need to modify the ConfigMap local-path-config in the namespace kube-system.
kubectl get configmap local-path-config -n kube-system
Go to local-path-config and edit the config.json key. Modify $.nodePathMap[0].paths[0] to a folder owned by you, for example, $HOME/.rancher/k3s/storage. Make sure that folder exists, use mkdir -p $HOME/.rancher/k3s/storage if not.
Conclusion
We have seen how quickly we can spin up a kubernetes cluster in our personal machine, just by following a few simple commands. To learn development and testing of cloud applications, you do not need to sign up to expensive cloud providers with free trial limits or follow complicated procedures that takes weeks to finish. The hardware you own is more than enough.
Drop me a message or email to say what exciting things you are building for the cloud. For me, I am just getting started!
Follow the official documentation below: